Getting Started
When you first log in to VCX you’ll need to provision a phone number and configure a call flow to get up and running.
Adding Phone Numbers
First, click on Add / Edit Numbers in the navigation on the left.

Then click on the “Add Local” or “Add Toll Free” button.
![]()
If you chose “Add Local” then you can search for a number in any US or Canadian area code. You can also search for a vanity number (404-514-ANDY for example) but you’ll have better luck choosing one or the other but not both.
Once you press the “Search” button if there are any numbers that match your search criteria you’ll be presented with a list of possible numbers. Choose one, assign it a nickname (“Atlanta Local”, “Support Hotline” etc) and choose a name for the Call Flow that will be used with this phone number (“Inside Sales”, “Accounts Payable” etc…)
Click “Add Number” and that phone number will be provisioned on your account and you’ll be taken to the Call Flow Editor.
Call Flows
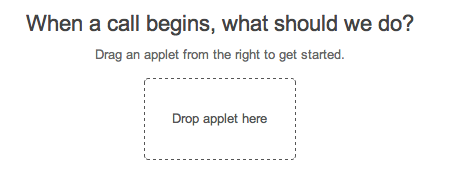
A Call Flow is a way of describing the behavior of your phone system. You configure a call flow by dragging applets into the interface to chain them together. You can connect your call flows to any of your numbers.
VoiceMail
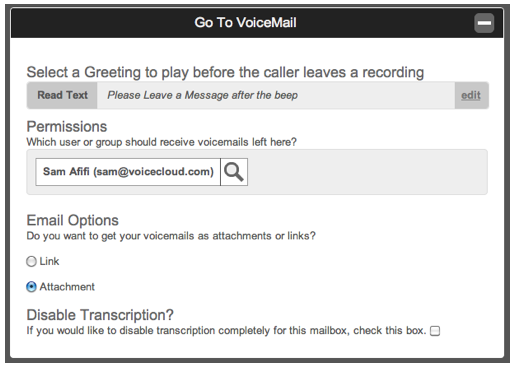
With the VoiceMail applet, your callers will hear the prompt you set either by typing it in, recording it over the phone, or uploading a sound clip. You must choose a user or group to be the recipient of the message that gets left.
Call A Number
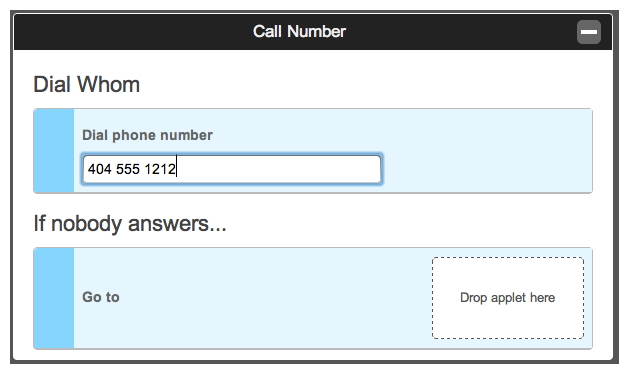
This applet will cause VCX to call a phone number and attempt to connect your incoming caller to that phone number. It’s used frequently in conjunction with the VoiceMail applet when the designated number is not answered.
Auto Attendant
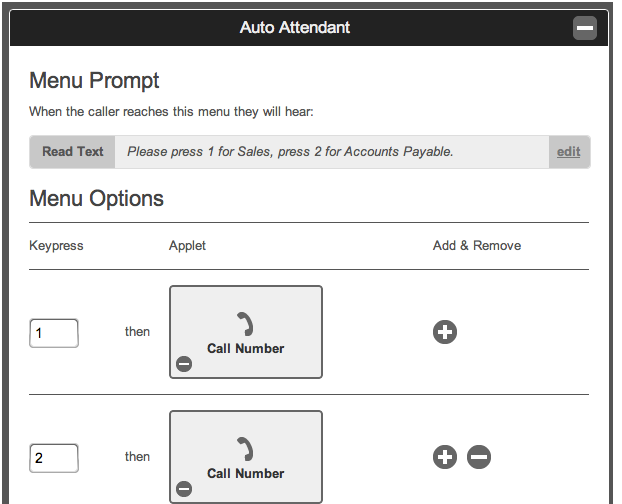
The Auto Attendant applet allows you to build interactive menus for your incoming calls. Create the greeting at the top and then enter the menu items (1, 2 etc) in the keypress fields and then drag other applets in to each section.
Announcements
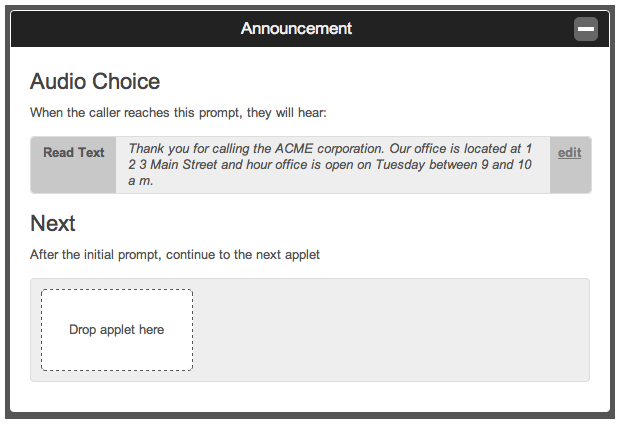
Announcements are useful for playing back recordings, listing information or other non-interactive text elements. Do not use them in place of the prompt at the top of an Auto Attendant because the caller will not be able to interrupt them.
Your Plan
By clicking the “VoiceCloud Plan” link in the navigation you can see other plan options and upgrade or downgrade your plan at any time. Your credit card will be charged a prorated amount based on how many days it has been since your current billing cycle started. You can cancel your account on this page as well. If you cancel your account, your phone numbers will be de-activated immediately and your access to VCX will be terminated.
Adding Users
You can add additional users to your VCX setup so that you can assign voicemail boxes to them and they will get their messages transcribed and emailed to them.
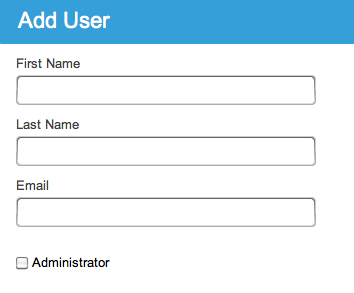
Enter their name and email address into this form. Checking the “Administrator” box will give them all the same privileges that you have. If you leave it unchecked they will have access only to their inbox.
Once you click the “Add” button they will get an email with their password in it.